Page History: How to Create a MySQL Database with MySQL Workbench
Compare Page Revisions
Page Revision: 23/05/2012 00:04
Introduction
MySQL workbench is a windows GUI software agent used to administrate MySQL servers and databases, and is often installed by default on a windows server running MySQL, however you can also install it remotely on a client or developer machine. This tutorial illustrates how to create a new database and a new user to access that database on a MySQL Server using phpMyAdmin.
Prerequisites
- You will require a root or DBA user login to the MySQL server, or a user login with permission to create new databases.
- MySQL servers are usually configured to NOT allow a root user login from a remote host. You will need to first create a DBA user login, or use MySQL Workbench locally installed on the Mysql Server.
- You will need to have MySQL workbench installed. To download the latest version click here.
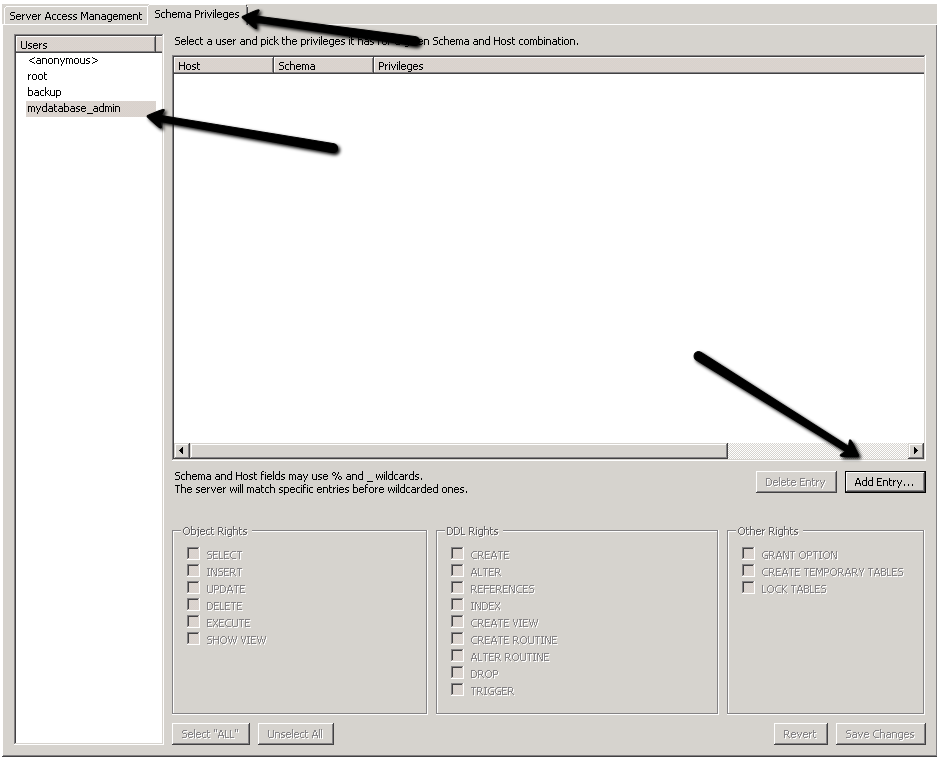
Using Mysql Workbench Version 5.2
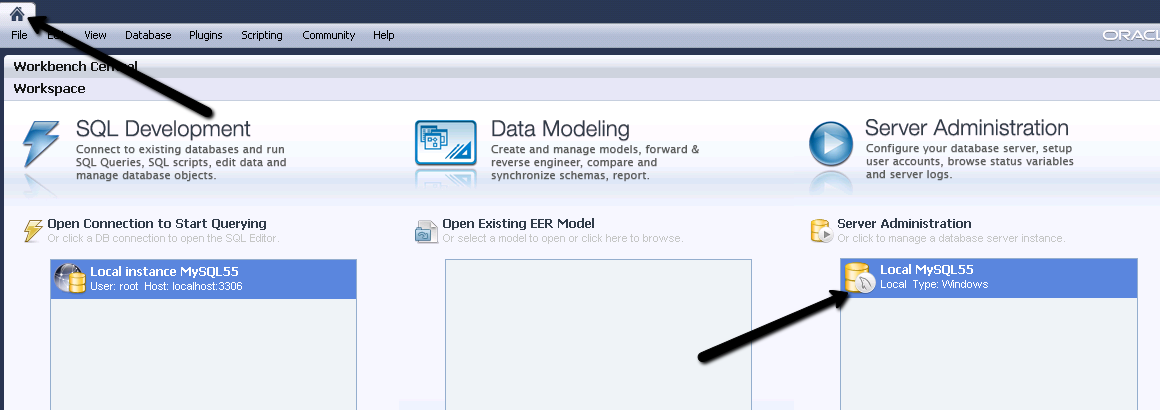
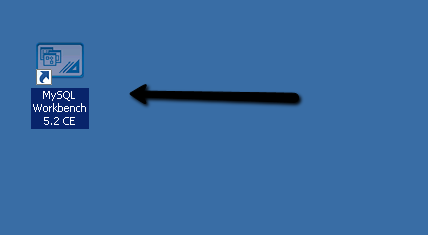
Open the MySQL Workbench software.
Click on your MySQL instance under the
SQL Development section of Workbench to create a new schema.
NOTE: Databases are called schema's in MySQL Workbench.

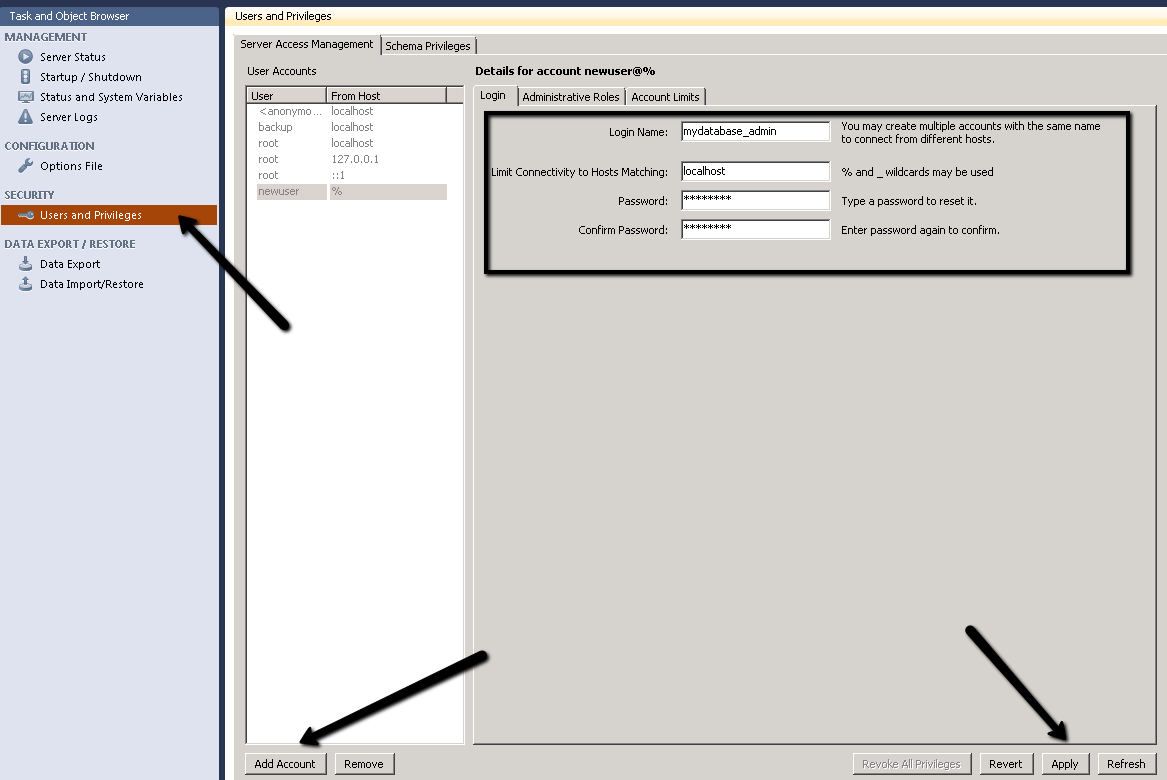
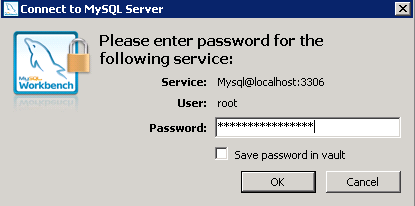
MySQL workbench requires a login to your Mysql server. Enter your root or user that has been assigned dba server privileges.
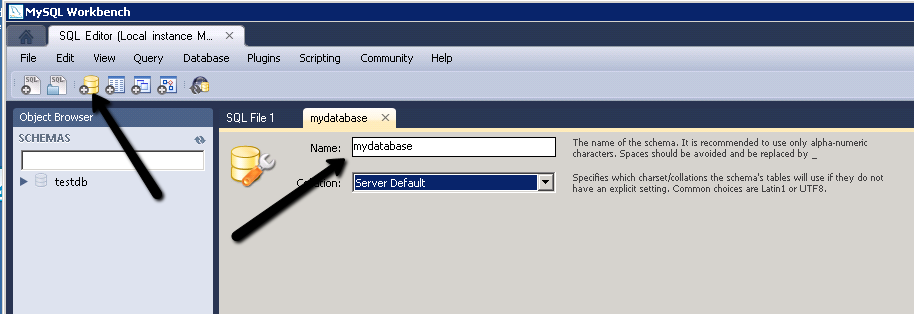
Click on the
New Schema icon in the menu, and then enter a
name for your new database in the field as shown. Click the
Apply button to generate the SQL script.

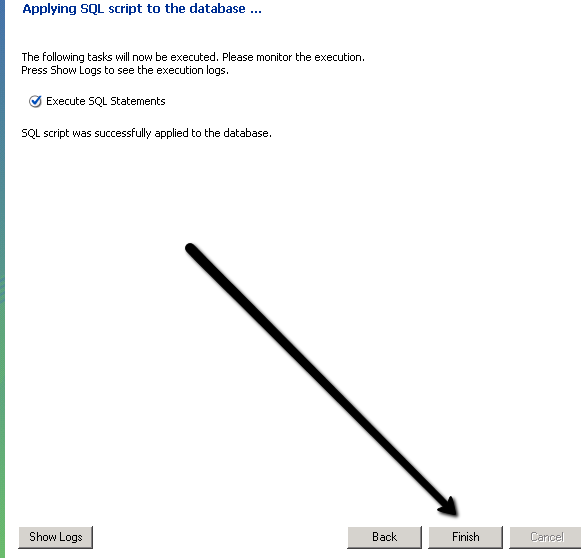
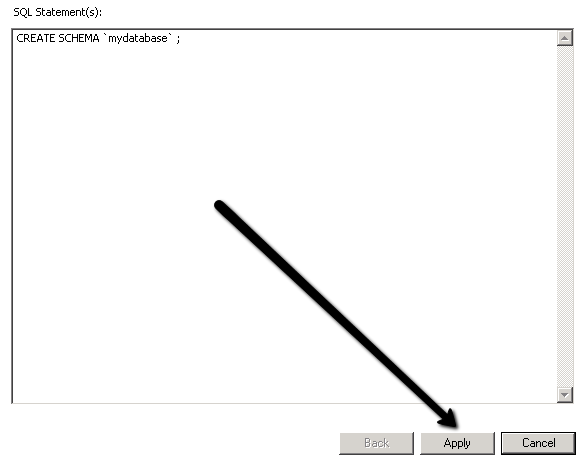
Click the
Apply button again to execute the create database statement, and create your new database.
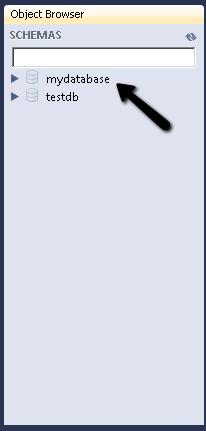
Click
Finish. Your database should now be listed on the left with your other database schemas.