Open
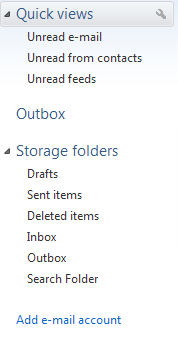
Windows Live Mail and click
Add e-mail account located on the left handside
 Your Name & Internet Email AddressEmail Address:
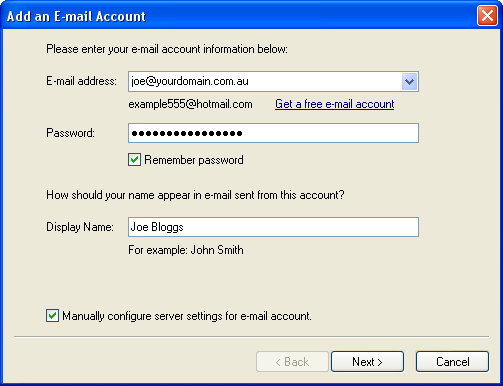
 (Specify your email address. This must be accurate for you to receive reply emails, Eg. joe@yourdomain.com.au)
Password: (Enter your email account password)
* Tick the Remember password check box so that you do not have to keep typing your password
Display Name: (Enter your first & last name, or your business name. This is the name people will see when you email them, Eg. Joe Bloggs)
 E-mail Server NamesMy incoming mail server is a:
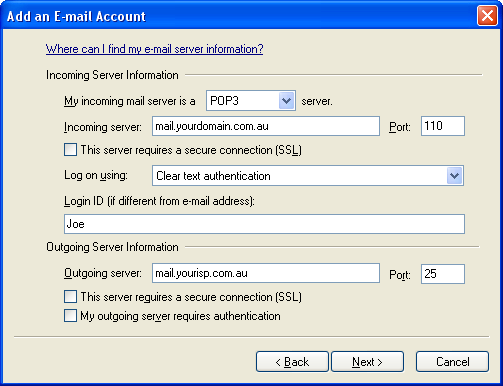
 (Choose POP3 by default, if you have applied for an IMAP account choose the IMAP option.)
Incoming Server: (Enter the incoming server details for your email account, normally in the following format, Eg. mail.yourdomain.com.au)
Outgoing Server: (Enter your outgoing email server, normally the mail server of your Internet Service Provider (ISP), Eg. mail.yourisp.com.au)
Click the Next button, and then click the Finish button on the following page. You should now see your new email account in the list of mail accounts.
Your email accounts is now setup! You can test your new settings are working by sending yourself an email!
Outlook Express Advanced Settings
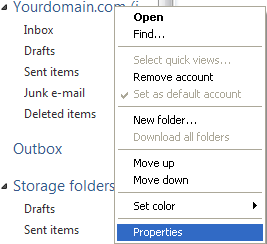
In Outlook Express you can modify your email account settings at any time. Right Click the
Account on the left hand side, and choose the
Properties option. On the
Mail tab of the Internet Accounts page, select your email account from the list and click the
Properties button.
Here is a brief overview of how to configure the advanced email account settings available in Windows Live Mail.
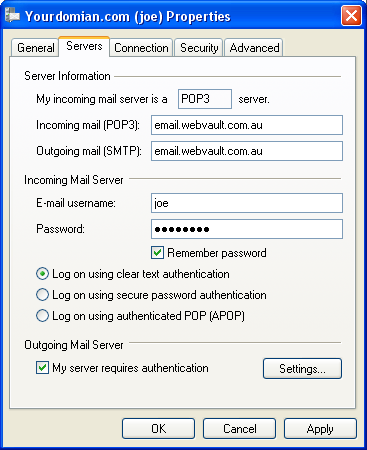
Servers Tab
The settings shown below only work if you have first applied for an SMTP enabled email account with Webvault. In this case you MUST also tick the
My server requires authentication checkbox option. Please refer to the next section for recommended port changes when using Webvault SMTP servers.
NOTE: Webvault does NOT provide SMTP enabled email accounts by default. For more detailed information about your Outgoing Email Server Settings please refer to our Outgoing Email Server SMTP Settings article.
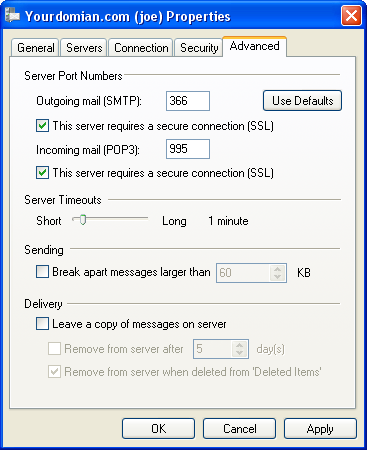
Advanced Tab
If you are using your ISPs default outgoing email server setting, then you should NOT adjust the settings on this page.
If you are using an SMTP enabled email account with Webvault then it is recommended that you change the
Outgoing Server (SMTP) port on the
Advanced tab from the default 25 to 366. This will allow you to bypass firewall restrictions that most internet access providers impose on connections to remote mail servers. You can also use the secure SSL encryption options as shown for additional privacy and security with sending or retrieving email.
IMPORTANT NOTE: If you use the SSL encryption settings to retrieve or send email, you MUST change your Incoming and Outgoing Mail Server settings to email.webvault.com.au as shown above, otherwise Windows Live Mail will warn you of a principle name certificate mismatch error.
IMPORTANT NOTE: It is NOT recommended that you select the Leave a copy of messages on server option as after awhile this may cause your mailbox on the server to fill up and stop receiving email. If however you wish to download your email onto more than one computer you can use this feature provided you also specify the Remove from server after 7 days checkbox.
TIP: If you wish to share email between multiple computers or users please enquire about one of our multi-user email account services such as IMAP or Microsoft Exchange.