Page History: How To Setup WebDrive on MacOS
Compare Page Revisions
Page Revision: 30/07/2010 11:09
Introduction
WebDrive is a file and document sharing solution based on remote file server technology provided by Wevault. This tutorial explains how to setup your Webdrive file sharing software on Macintosh OS. For more information about Webdrive or to apply for a service please see
Getting Started with Webvault Webdrive File SharingInstalling the Software
1. Download and install the latest version of WebDrive for Mac.
Click to download Webdrive x64
Configuring WebDrive
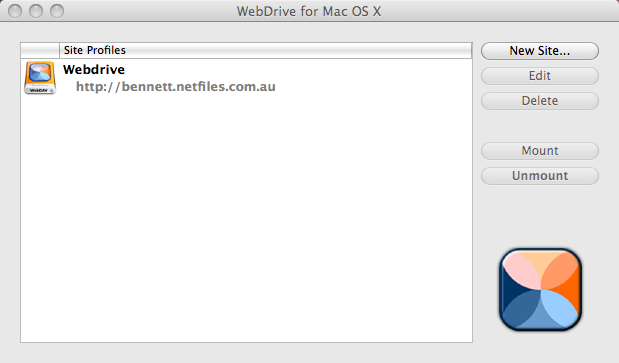
2. Once you have installed the Webdrive software on your computer, open Webdrive from your desktop icon, or from the Windows/Programs shortcut. Click on the
New Site button.
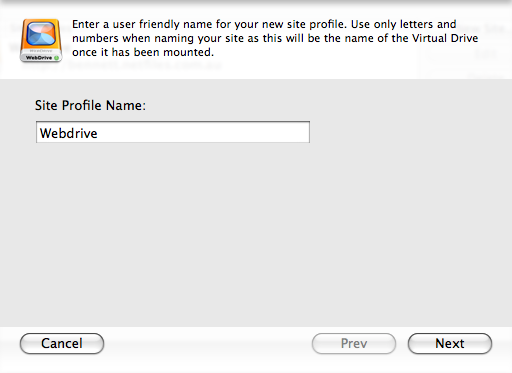
3. Enter the name of your site as
Webdrive as shown. Click
Next.
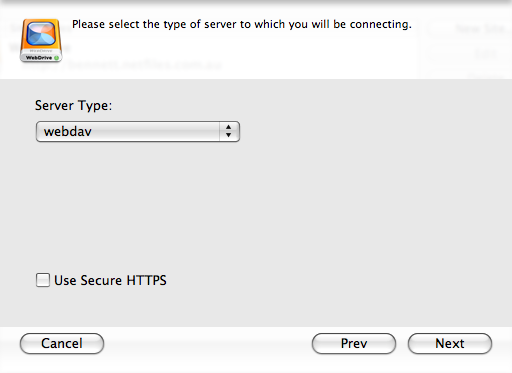
4. Choose
WebDAV from the list of server types. If you have applied for a security encryption certificate for your Webdrive service, you can tick Use Secure HTTPS,
otherwise do NOT enable the Use Secure HTTPS option. Click
Next.
5. Enter the URL for your webdrive server as provided by Webvault. This will normally be in the format of
yourbusiness.netfiles.com.au. Click
Next.
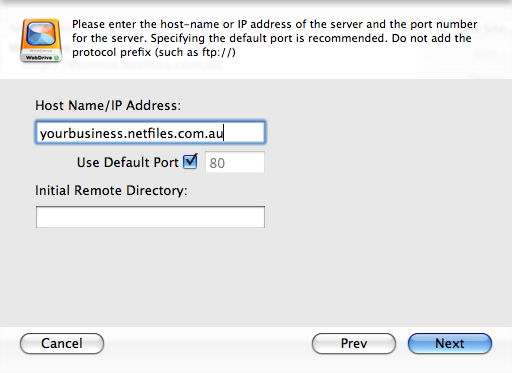
6. Untick the
Anonymous/Public Login option, and then enter your Webdrive
Username and
Password as provided by Webvault. Click on
Save Password. Click
Next.
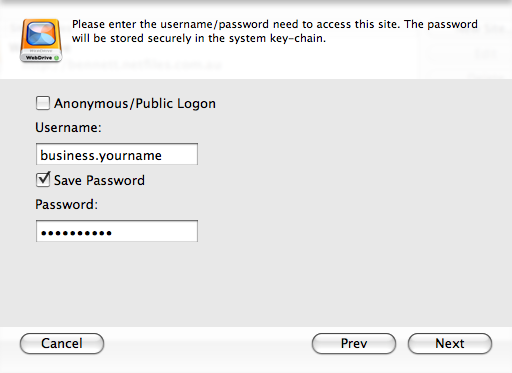
7. Look over the details you entered to confirm if they are correct. Click “Finish”.
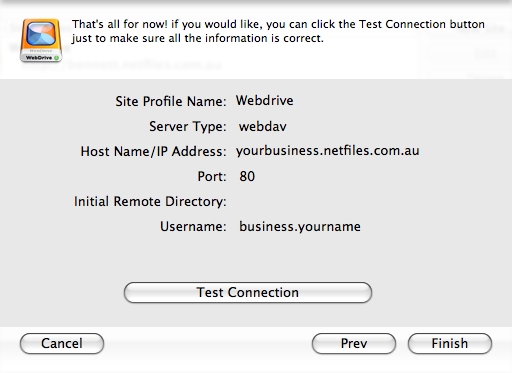
Webdrive Settings
8. Once you have initially configured your Site Profile using the Site Wizard, you can fine-tune your configuration. Simply click your Site Profile and then click "Edit".
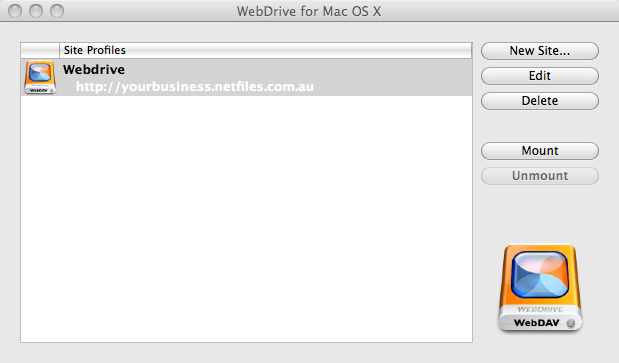
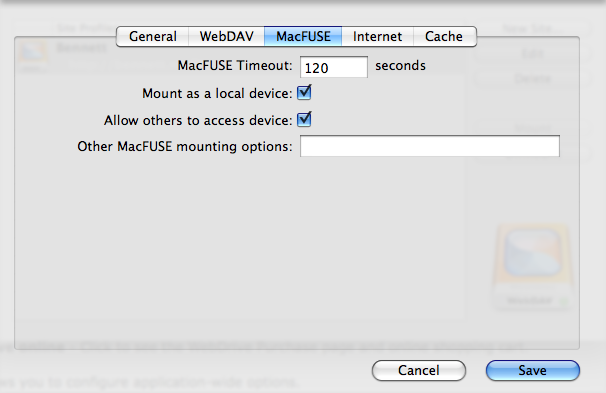
9. Click the MacFUSE tab and set up the page to look like the following:
Connecting to Webdrive
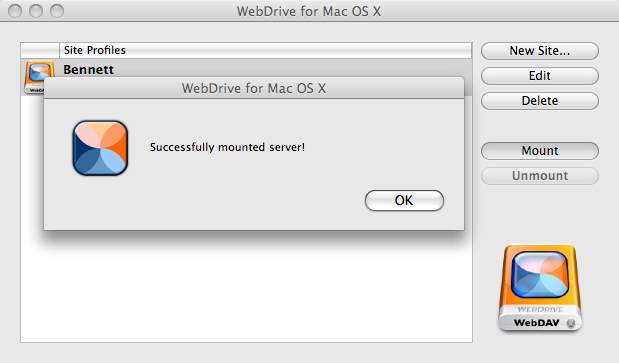
10. Go to the Webdrive Home Screen. Make sure "Webdrive" is selected and click "Mount".

11. A screen will pop up telling you that the Webdrive server has successfully mounted.
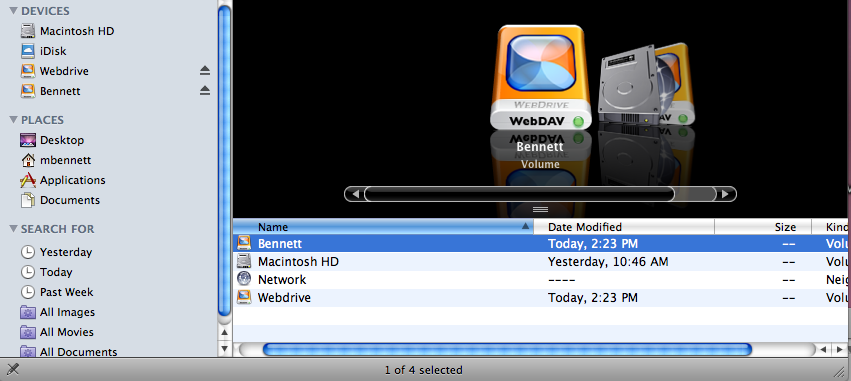
12. Go into Applications and under "devices" your drive should be listed. You can access your drive from here.
