Introduction
This tutorial illustrates how to use the Cloud Toolbox to create or edit a standard internet email account settings for your domain name. To learn more about the different types of email solutions available please read
Getting Started with Email Services.
Create an Email Account
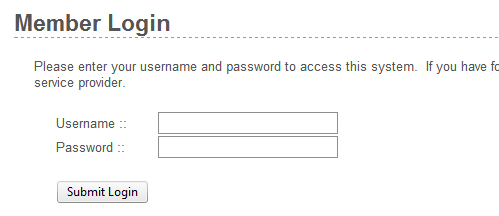
Login to the
Cloud Toolbox System with your Toolbox Username and password. If you do not yet have login credentials please contact your cloud service provider for access to this system.
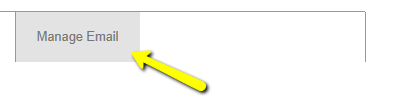
Click on the
Manage Email tab.
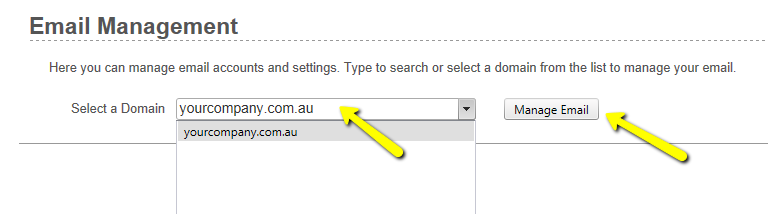
Select or Type the domain name you wish to create an email account for. If you have a large number of domains, the system will automatically begin searching for the domain once you begin typing. Then press the Manage Email button. Wait a few moments and your existing email settings will be displayed.
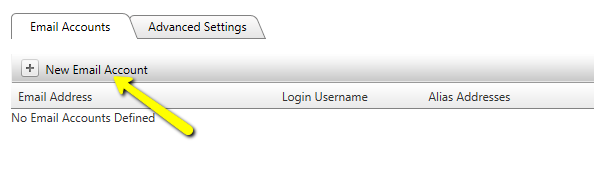
On the
Email Accounts tab, click the
New Email Account option to create a new email account.
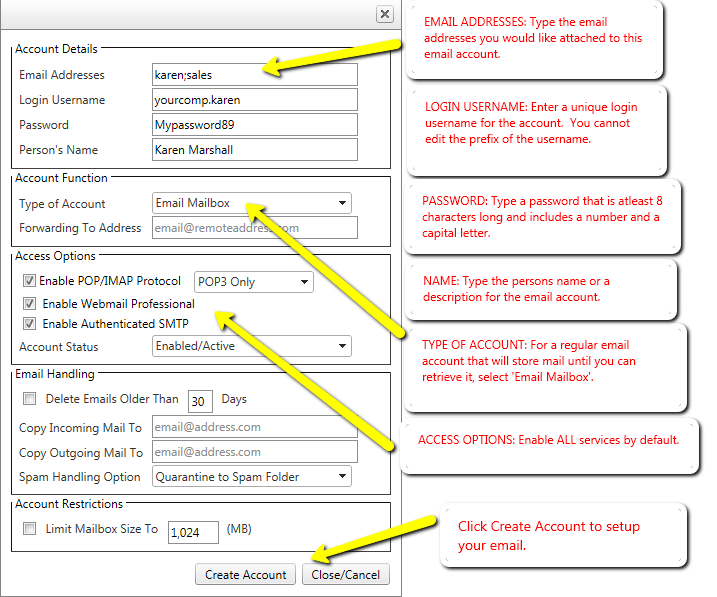
Configure your email account settings as as described below. The
required settings are described in red and must be entered! Click
Create Account to save your new email account changes. If you receive an error message, correct the problem with your settings.
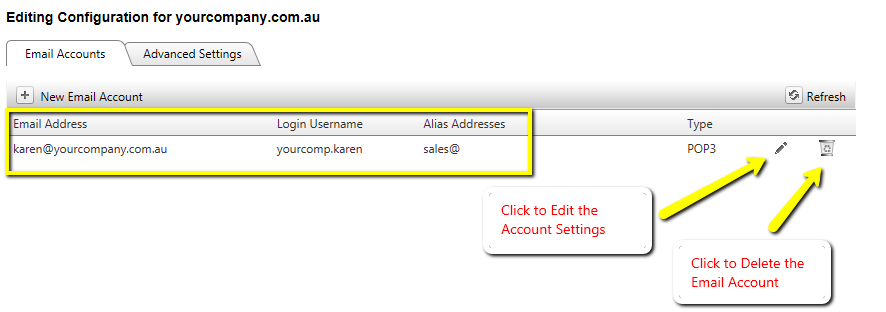
Your new email account will now be displayed in the list and is ready to use. For information about how to use your new email account with your preferred software please read the
Getting Started with Email Services guide for more information.
Edit Advanced Settings
To edit an email account click the
Edit button next to the relevant account in the list on the
Email Accounts tab. Below is a description of the more advanced settings relating to an email account.
Account Function
The
Type of Account defines the behaviour of the individual email account. To allow the account to store email so that it can be accessed via POP3, IMAP or Webmail services choose the
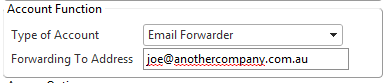
Email Mailbox option. This is a regular type of email account. To disable storage of emails and simply forward mail received by this account to another email address, choose
Email Forwarder from the dropdown and enter the
Forwarding to Address as shown. Note that you can only forward to a
single email address using the
Email Forwarder option. If you wish to forward email to additional addresses, please see the
Email Handling section for adding more recipients.
Access Options
The
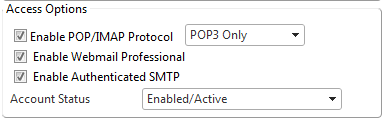
Access Options define the services available to the user of the particular email mailbox.
- If the user has software on their computer to download email, then you can enable the POP3, IMAP protocols accordingly.
- If you wish the user to have access to Webmail then tick the Webmail Professional access option.
- To allow the user to send outgoing email from their computer using Authenticated SMTP, tick the Enable Authenticated SMTP or Enable Outgoing Email option.
- You can also disable an email account indefinitely without deleting the account using the Account Status options. Select Disable Login to stop the user from accessing their email, but to continue receiving email for storage or forward. Choose the Disable Login and Reject Mail option to reject any incoming email for this account as well as prevent the user from accessing existing email.
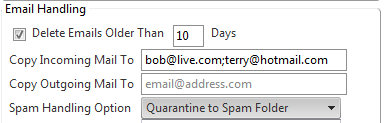
Email Handling
The Email Handling options define what to do with email under certain conditions.
- To delete email stored in the mailbox after a certain number of days since its arrival, enable the Delete Emails Older Than option. Note that if you specify 0 days, email will be deleted every day.
- To Copy Incoming Email received by this account to other mail recipients, enter one or more email addresses separated by a semi-colon as shown. NOTE that this is a copy-forward, and email will still be stored in the mailbox if your Type of Account is set to Email Mailbox. If you do not wish to store email, change the account to an Email Forwarder, or use the Delete Emails Older Than option.
- To copy outgoing email sent from the user of a mailbox to other recipients, enter one or more email addresses separated by a semi-colon. NOTE this will only work if the mailbox user is operating from Webmail or Authenticated SMTP. Email sent outbound through other external mail service providers cannot be forwarded.
- The Spam Handling option defines what to do with email detected as being SPAM. If the Type of Account is an Email Mailbox, you can choose to Quarantine the SPAM email to a 'Spam' folder which is accessible via the Webmail Service or via IMAP protocol. Alternatively you can choose to have the SPAM email delivered to the inbox like regular email, but with a SPAM Label Tag in the subject line. Whilst this will not stop SPAM from being delivered, you can use your desktop email software to filter or redirect spam to a particular folder as required.
Account Restrictions
- You can limit the available storage of a particular users mailbox by enabling the Limit Mailbox Size To option and specifying available storage in Megabytes. At 90% storage capacity the user will receive a warning email and at 100% capacity the email account will no longer accept new email.
