Introduction
This tutorial illustrates how to setup your standard internet email service using either the POP3 or IMAP protocol on your Apple iPhone or Apple iPad mobile device. To learn more about the different types of email solutions on offer please read
Getting Started with Email Services.
Add New Email Account
NOTE: Please make sure your mobile device has internet connectivity before proceeding with this tutorial.
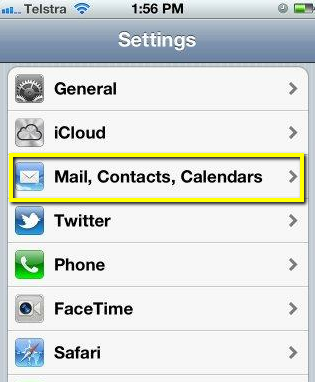
From the iPhone or iPad main menu screen choose the
Settings icon.

From the list of items select the
Mail, Contacts, Calendars option.
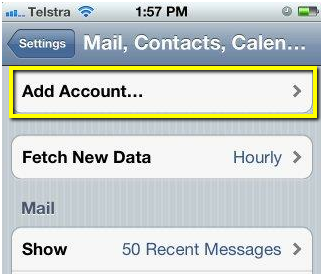
Select the
Add Account... option from the list of menu items.
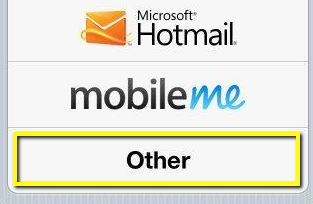
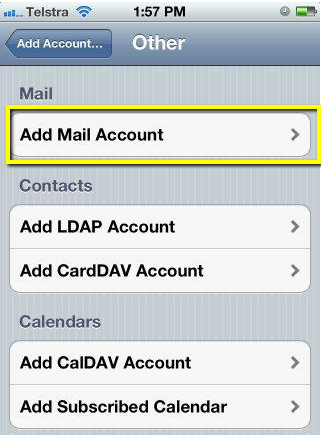
From the list of of email service types choose the
Other option.
Next choose the
Add Mail Account option.
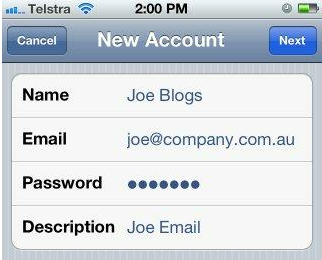
Enter your
full name,
email address and
password for your email account as shown. You can enter a friendly
Description of your email account to identify the account on your device. Click the
Next button and your device will now try and verify your account settings.
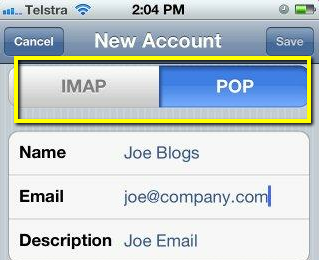
Your device should now request additional information. Select the
POP button if you wish to use the POP3 protocol or choose
IMAP if you know your email service has been enabled for IMAP protocol. If you are unsure which to choose select the
POP option.
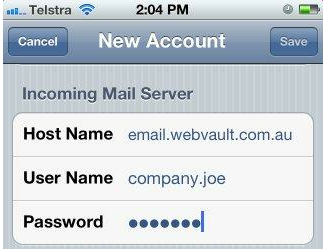
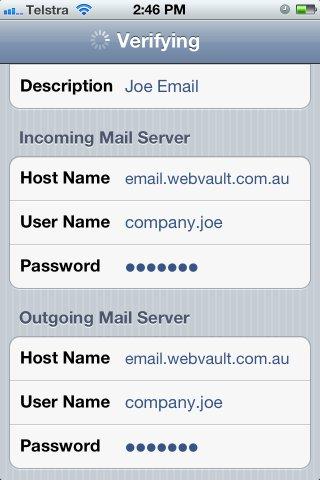
Scroll down and enter the
Incoming Mail Server information as shown. You will need to specify the
Host Name and also your email account
User Name. Your
Password should already be entered from a previous step.
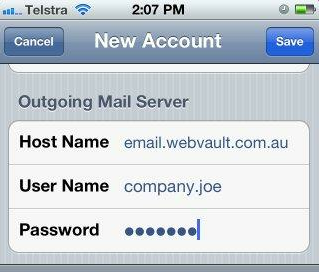
Scrolls down and enter the
Outgoing Mail Server information as shown. You will need to specify the
Host Name, your email account
User Name and also type in your
Password.
Click the
Save button to save and verify your email account settings. Your device should now connect to the server. If an error occurs go back and check your settings carefully. If you are unable to successfully verify your email account settings check your device has internet connectivity or try adjusting the advanced settings in the Troubleshooting section at the bottom of this tutorial.
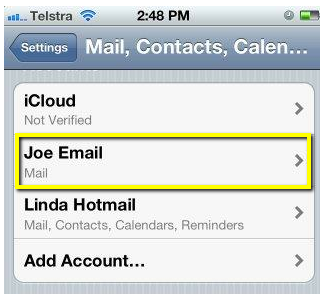
Once your device has saved the email account settings, the account should appear in the list of accounts under the
Mail, Contacts, Calendars settings screen.
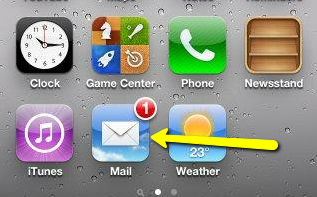
After a few minutes you should be able to access your email from the Mail icon on the iPhone or Ipad main menu screen.
Troubleshoot Advanced Settings
Retrieving Email
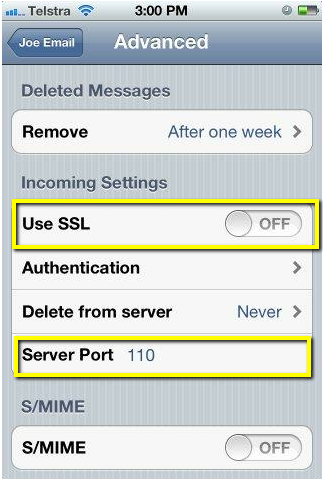
If your device is still unable to receive email check and edit the advanced settings of your email account as follows. In your device
Settings....
Mail, Contacts, Calendars, select your email account and navigate to the
Incoming Settings section as shown. Turn
Use SSL to
OFF and change the
Server Port to
110 if you are using POP protocol, or
143 if you chose IMAP. Click the back button on the top left to save your settings and then try again. If the problem persists, please check for internet connectivity or contact your cloud service provider for assistance.
Sending Email
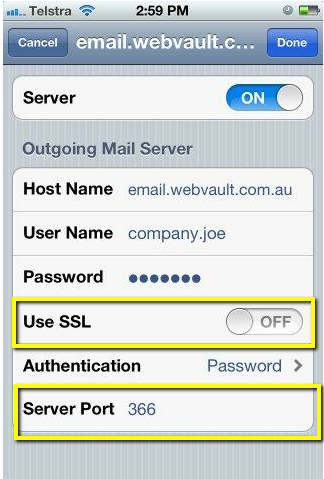
If your device is still unable to send email check and edit the advanced settings of your email account as follows. In your device
Settings ...
Mail, Contacts, Calendars, select your email account and navigate to the
Outgoing Mail Server settings section as shown. Turn
Use SSL to
OFF and change the
Server Port to 366. Click
Done, and then try send another email. If the problem persists, please check for internet connectivity or contact your cloud service provider for assistance.